...
| Info |
|---|
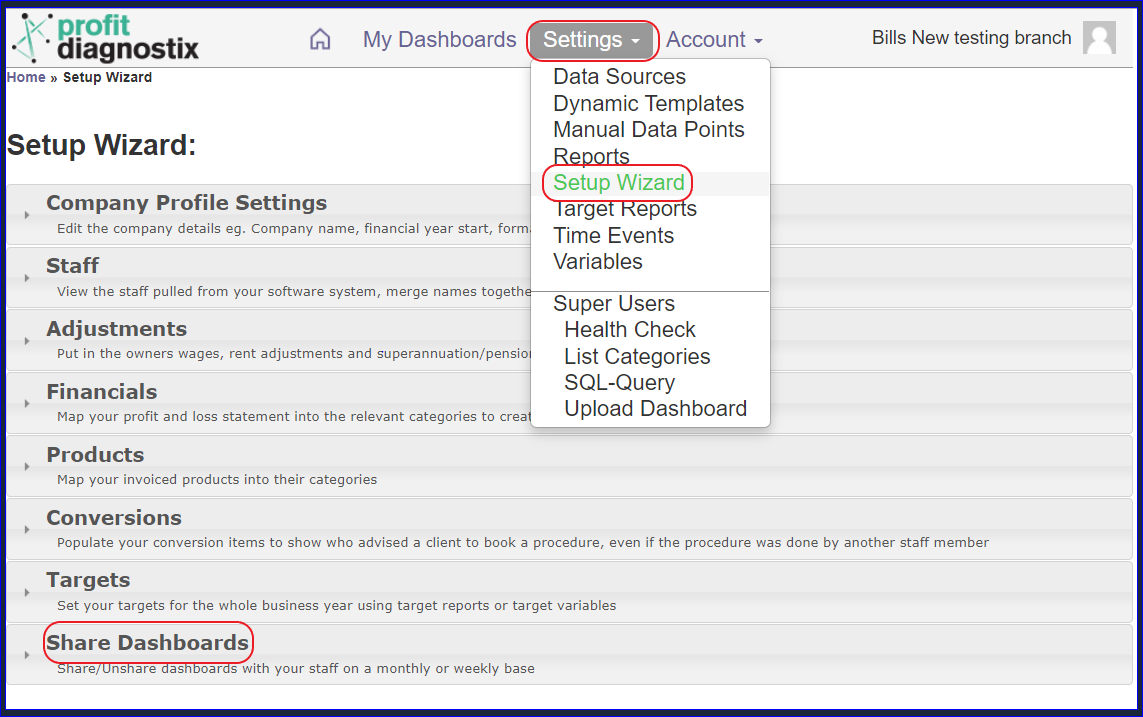
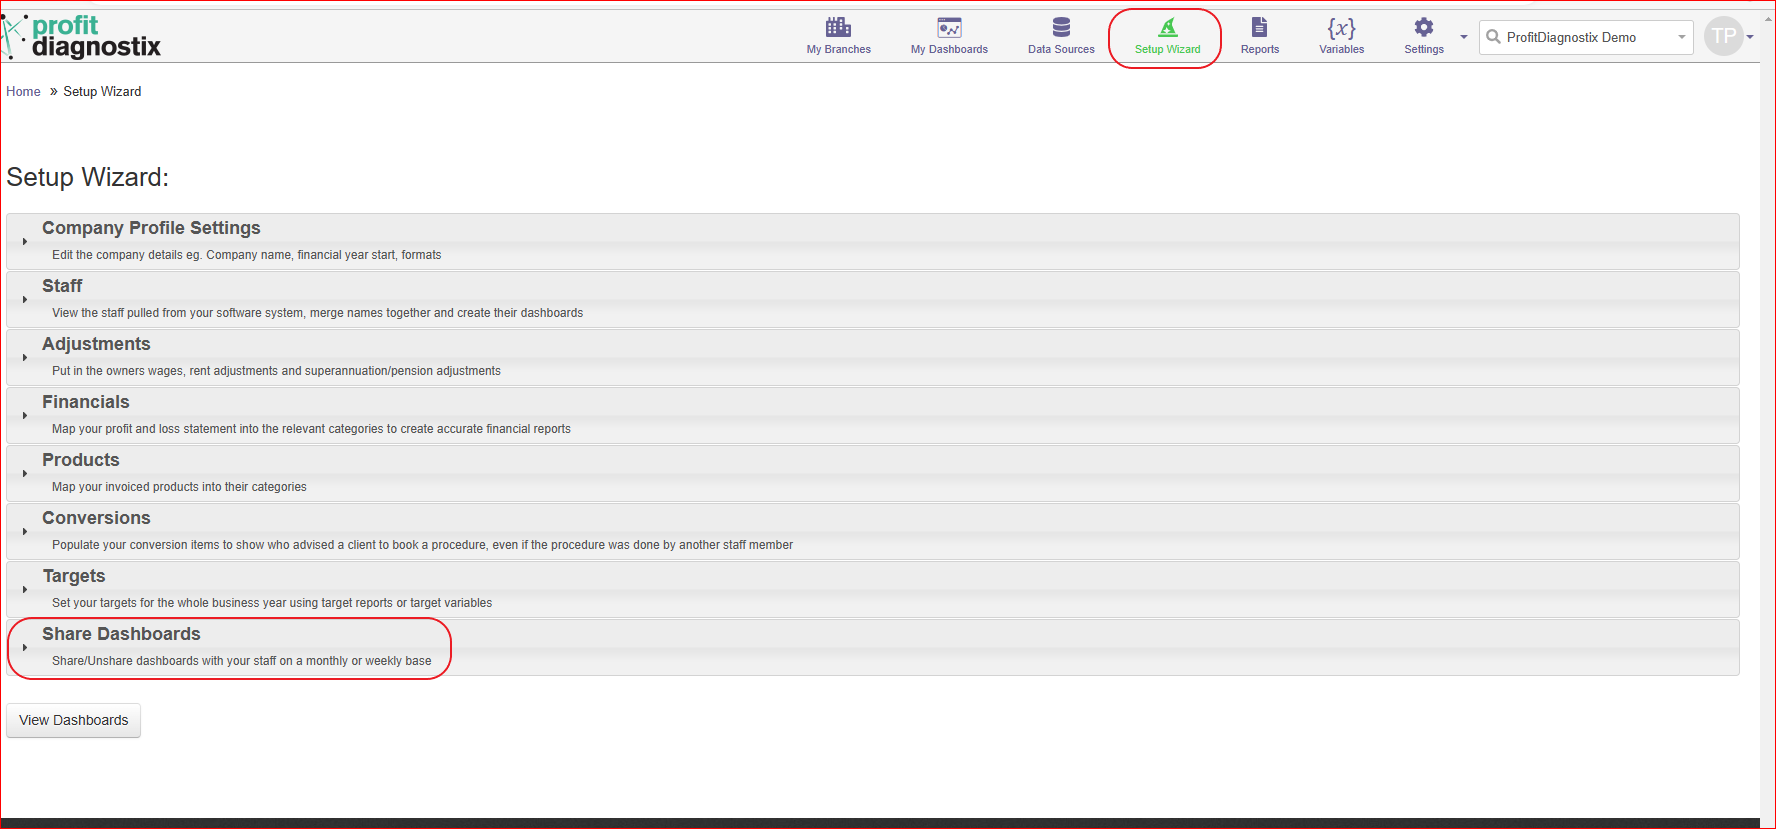
Navigation: Go to main menu → Settings → Setup Wizard → Share Dashboards |
| Info |
|---|
Click on an image to enlarge |
How to Share reports
Before sharing a report the user who is to receive the report must have an email associated with their account. This will be found the Staff section of the setup wizard.
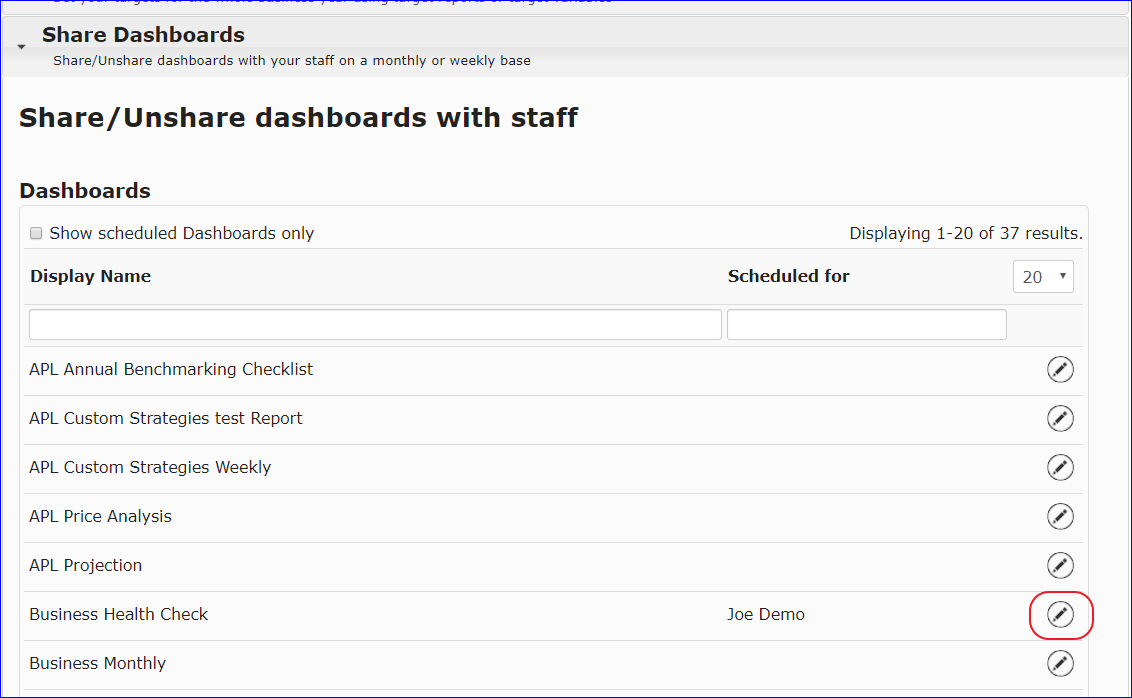
An instruction on how to add a email can be found on the below linkClick on the pencil edit icon to the right of the dashboard you wish to share.
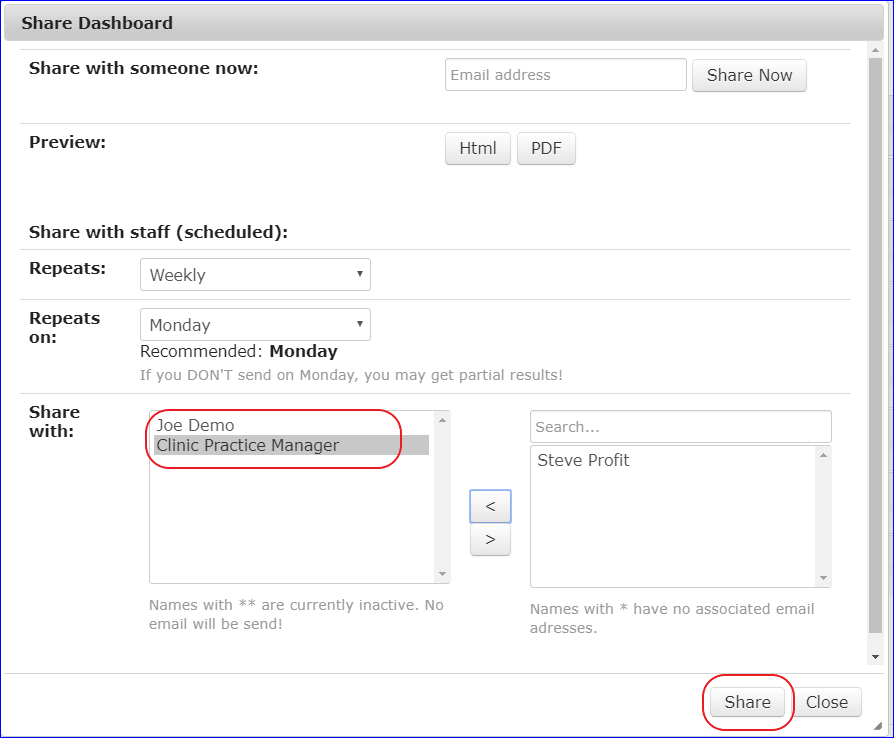
The share dashboard window in this example is already sharing the the report to Joe Demo. So the repeats will already be configured. You just select the staff member and move them right to left to add and left to right to remove using the arrows in the middle. If no report has previously been scheduled go to step 5.
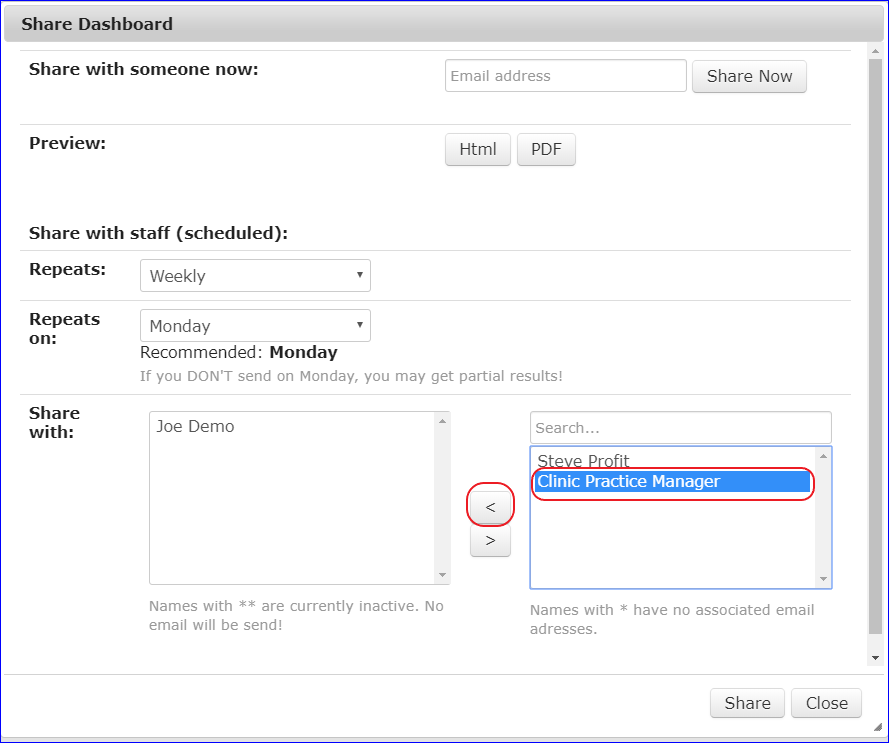
Once moved across (i.e. Clinic practice manager) you then click the share button, and the report will be sent weekly on Monday to Joe Demo and the Clinic Practice Manager.
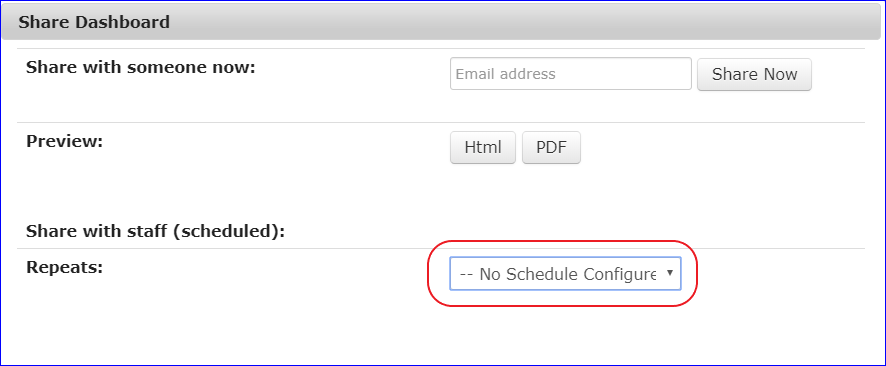
If no report is scheduled, the window will require you to set how often you want the report sent and on what day. Click on the drop down arrow and select the interval required.
Next enter the repeats on the drop down arrow.
Note in the image below Jane has an * ahead of her name. There is no email against her name the staff section of the set up wizard. Jane can’t be added to receive the report without an email address.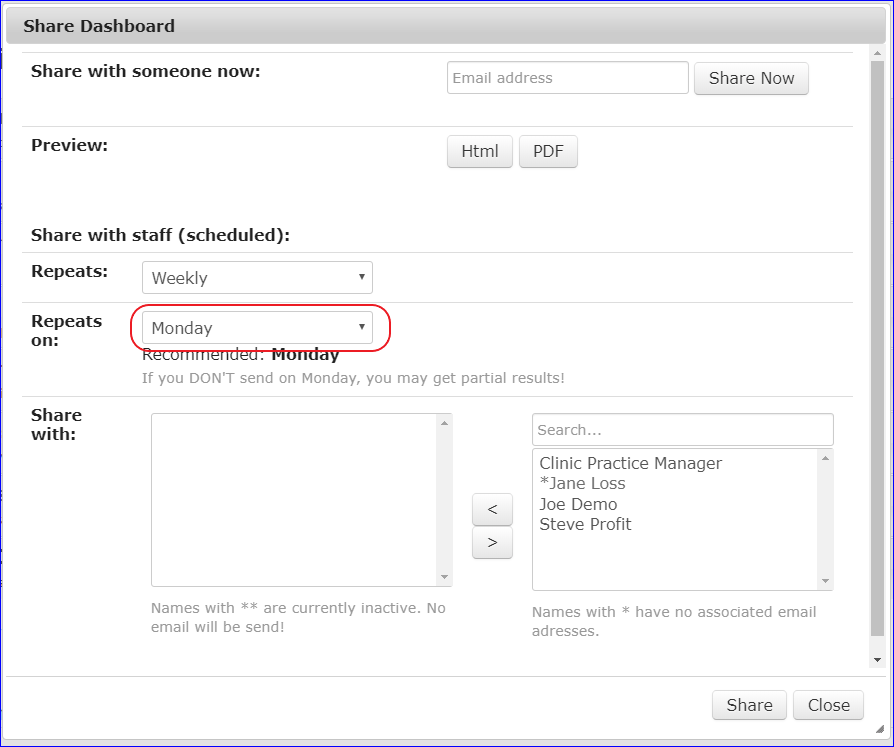
Select the recipient by clicking on the name and us the arrow to move them to the share with column.
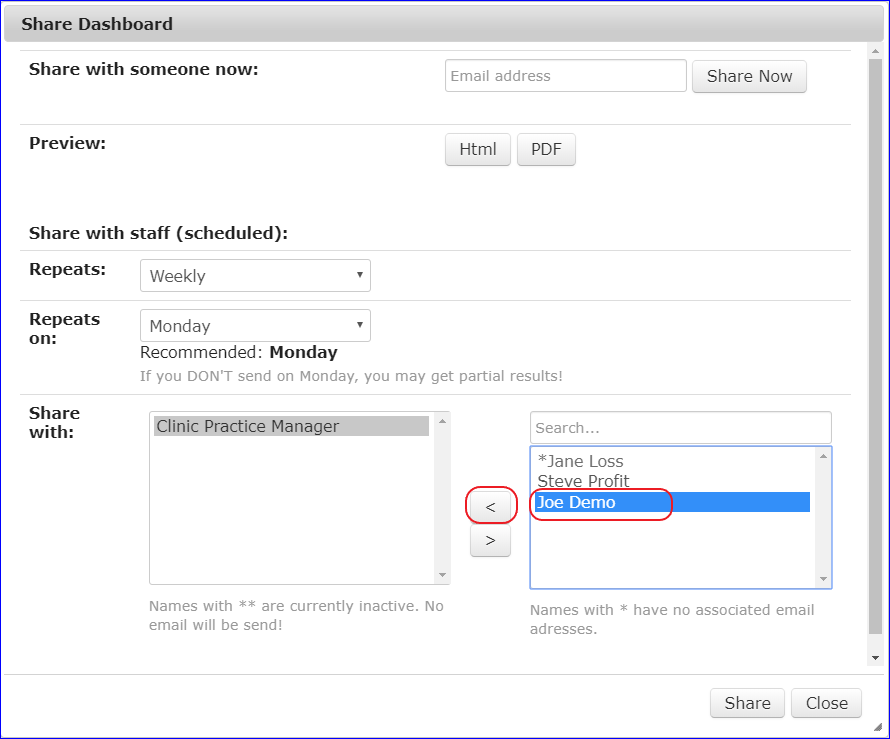
Click on Share to close the window and save.

Close to exit without any changes.
| Info |
|---|
Click on an image to enlarge |
...