This document describes the connector setup process to integrate Avimark and Profit Diagostix.
The process requires basic knowlege about Windows Server Administration like installing and configuring third party software and creating scheduled tasks.
Requirements:
Admin access to the Avimark server
A Dropbox account with a folder named like your company, e.g. “Test Practice” shared from support@profit-diagnostix.com. This folder should contain an “avimark” folder.
Steps:
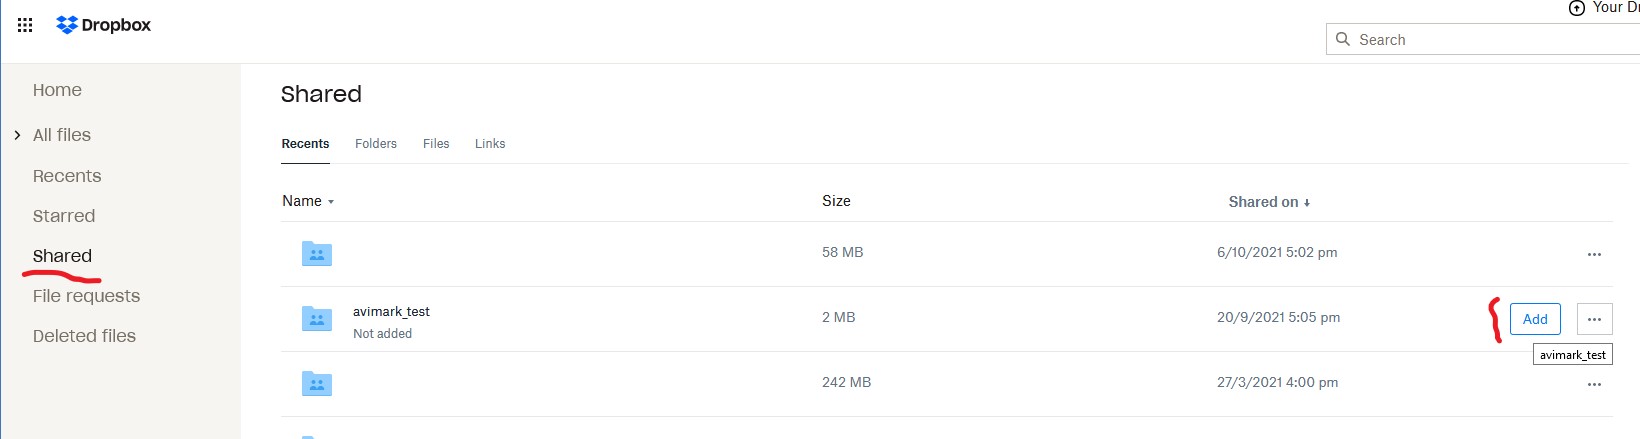
Login to your Dropbox account with your webbrowser (https://www.dropbox.com/login) and make sure the folder we shared with you (e.g. “Test Practice”) is added to your Dropbox.
Install the Dropbox sync tool on the company server using the Dropbox account that contains the avimark folder we shared with you: https://www.dropbox.com/install
Sign in with your Dropbox account: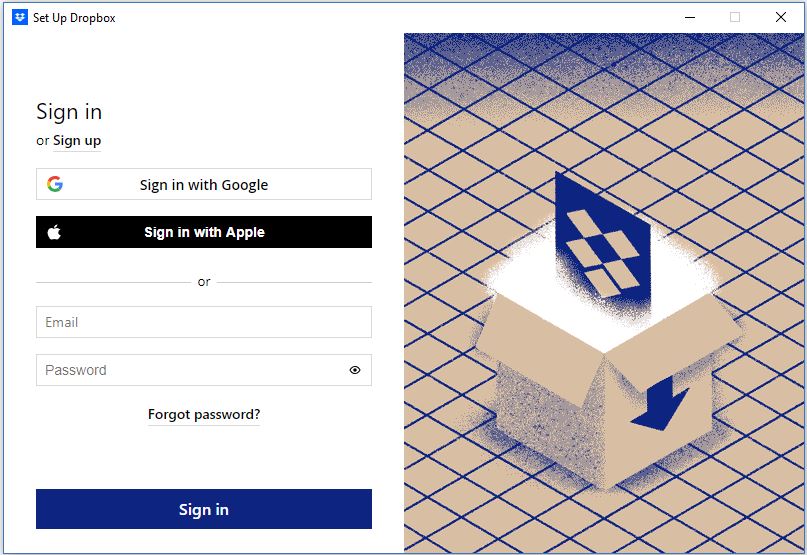
Click on “Choose folders to sync”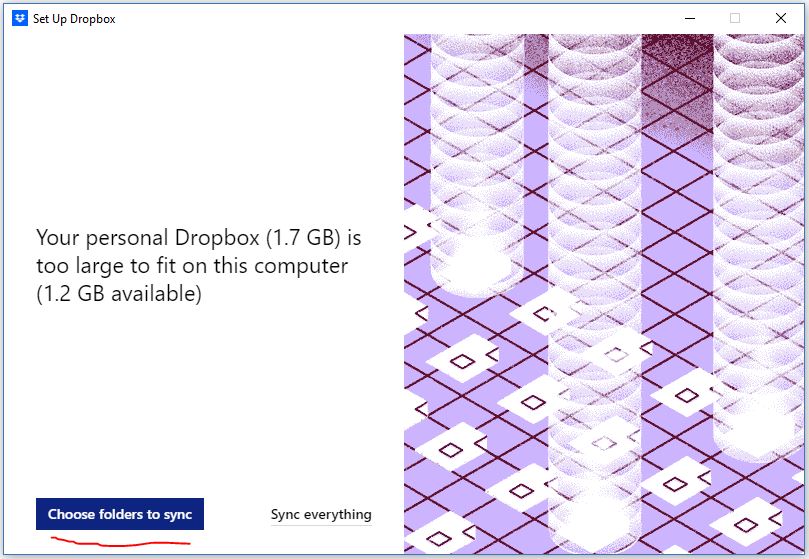
Deselect all folders and only select the company folder (e.g. “Test Practice”). Then press “Update”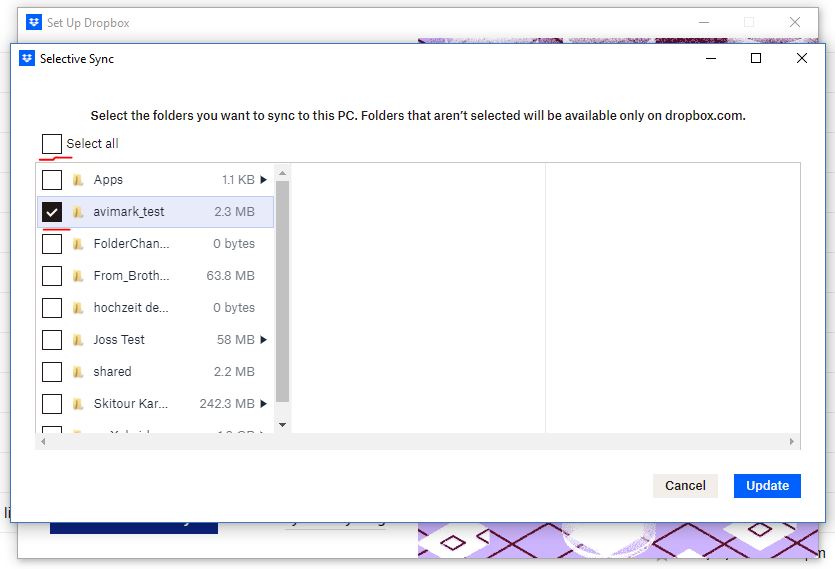
Click “Update” again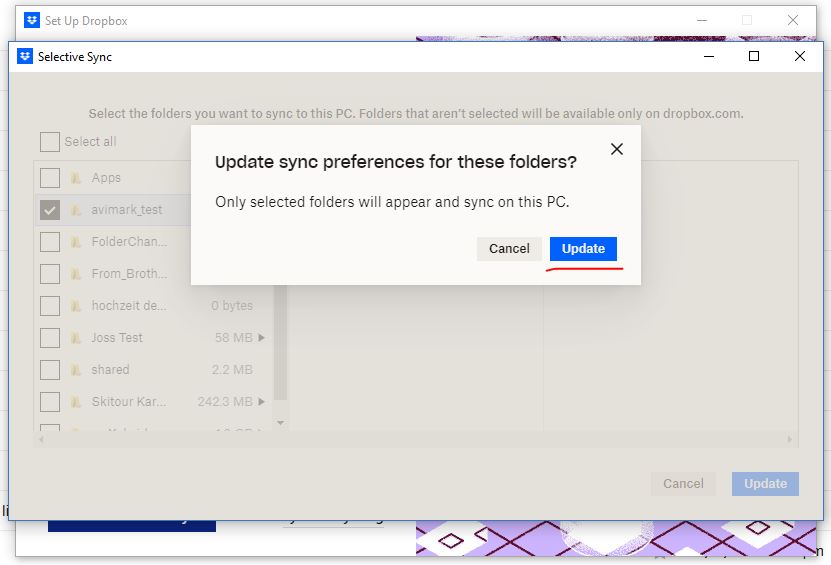
Click “Next”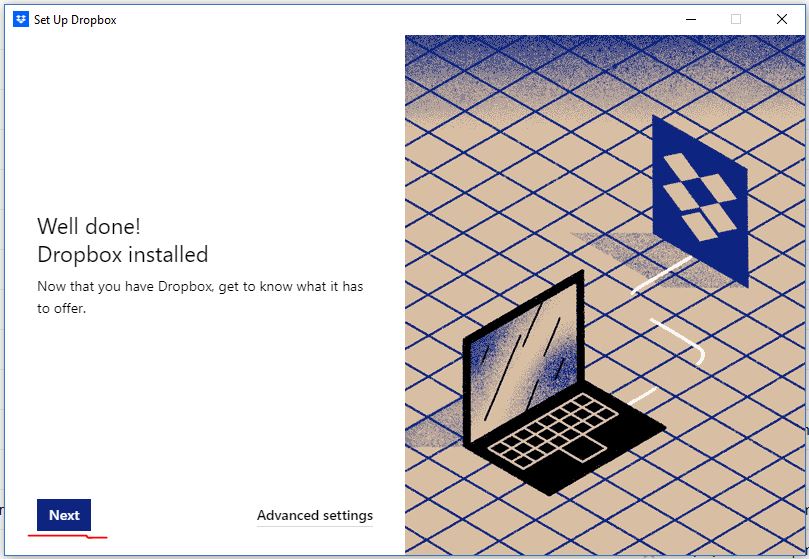
Select “Make files local” then click “Continue with Basic”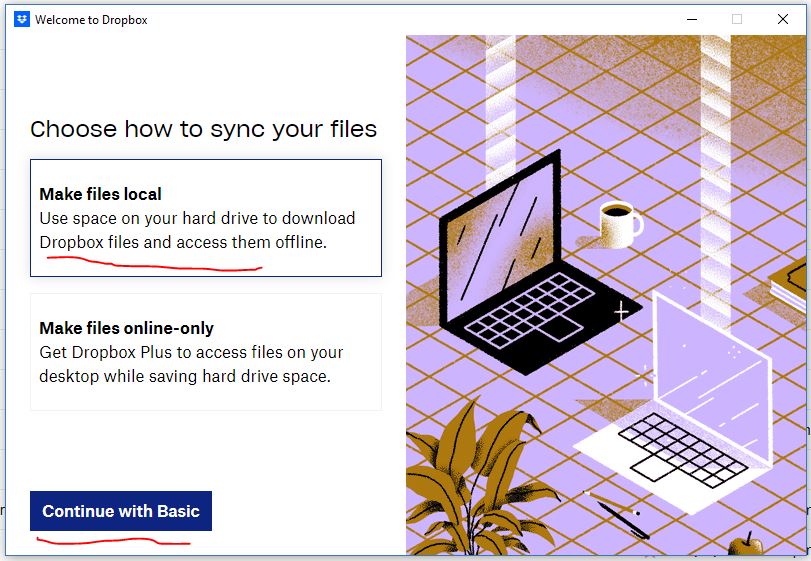
Since we don’t want to backup anything, click “Not now”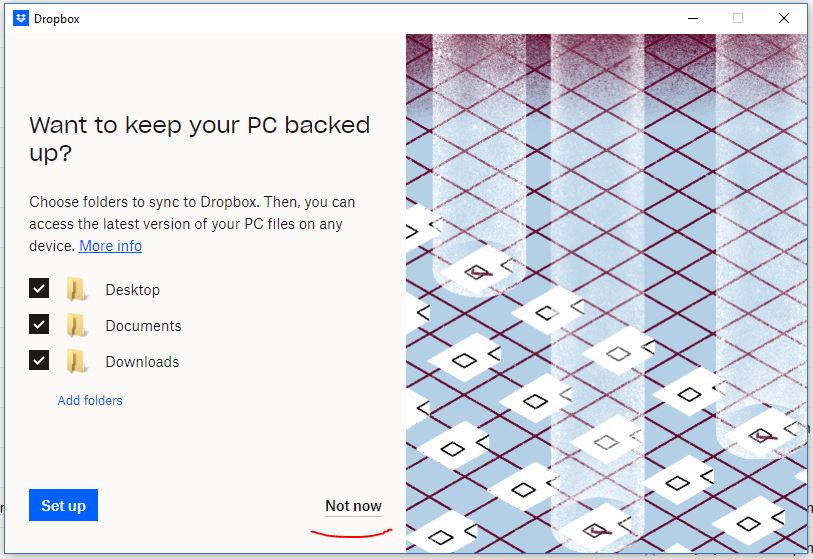
Click “Continue to Dropbox”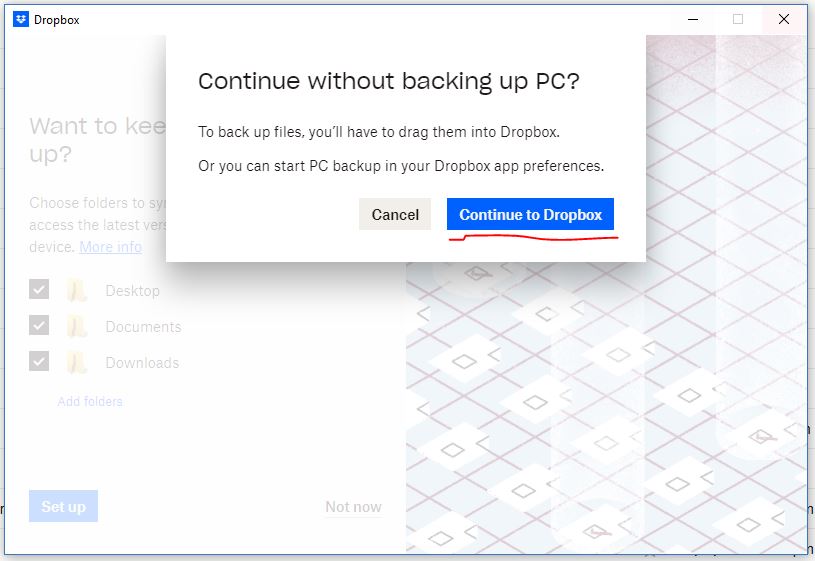
Now it opens the folder that contains the synced dropbox folders in the Windows Explorer.
Open your company folder (e.g. “Test Practice”) and then the “avimark” folder which contains the connector tools and a file called “avimark-export.bat”.Open the “avimark-export.bat” in an editor and modify the variables to match your environment:
set COMPANY_FOLDER="company-name-here"
set DROPBOX_FOLDER="C:\Users\Administrator\Dropbox"
set AVIMARK_FOLDER="C:\AviMark"
Change DROPBOX_FOLDER to the Dropbox sync folder
Change COMPANY_FOLDER to the folder shared from Profi Diagnostix inside inside your Dropbox sync folder (usually the company name)
AVIMARK_FOLDER is the folder on the server that contains the avimark source files. It’s usually "C:\AviMark" and should only be changed if needed.
Run the avimark-export.bat file
If all variables in the avimark-export.bat file are set correctly, the exported csv files should appear in your company dropbox folder
To generate a daily export, create a new task on the Windows scheduler that runs the avimark-export.bat on a daily base. The prefered time would be early at night after the practice has been closed. Profit Diagnostix will import the data from your Dropbox usually at some time late at night.
Search for “scheduler” in the Windows taskbar search and open the “Task Scheduler”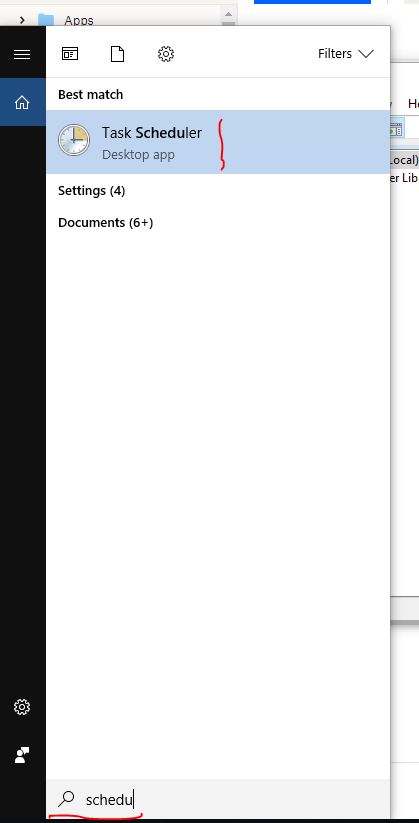
Click “Create Task”
Enter a task name e.g. “Profit Diagnostix Avimark Export”.
Check “Run whether useris logged on or not”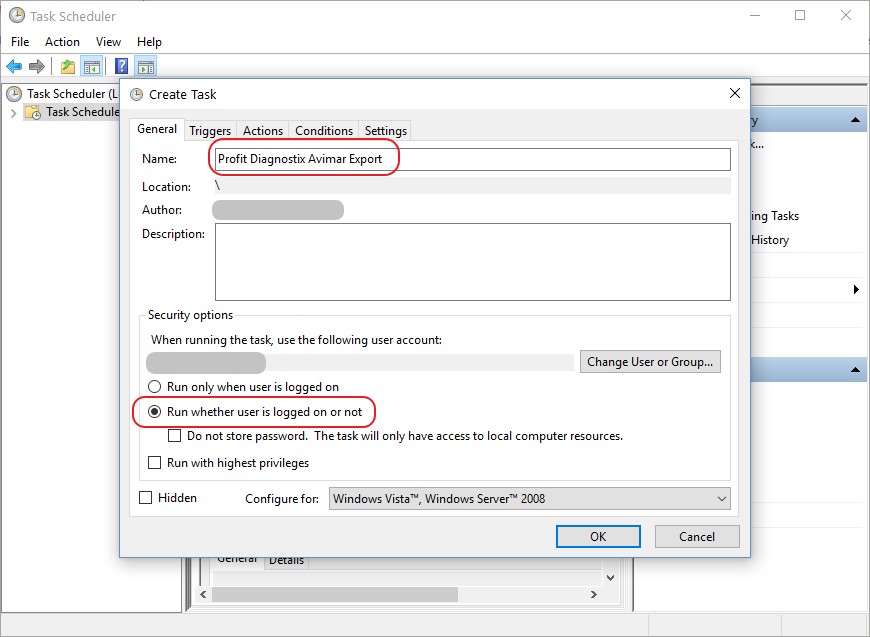
Click on the “Triggers” tab and press the “New” button.
Select “Begin the task On a schedule”.
Check “Daily” and enter a time preferably after the practice is closed sothe data of the complete day gets exported.
Also check “Stop task if it runs longer than 12 hours”.
Press “OK”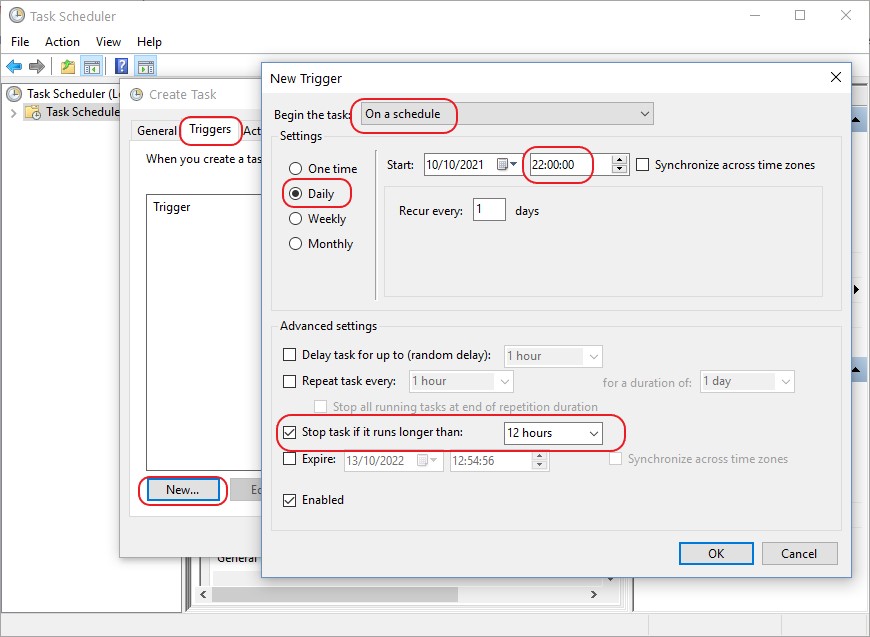
Click on the “Action” tab and press the “New” button.
Press the “Browse…” button and select the “avimark-export.bat” in your Dropbox folder you modified in a previous step.
Press “OK” to add the action.
Again press “OK” to create the task.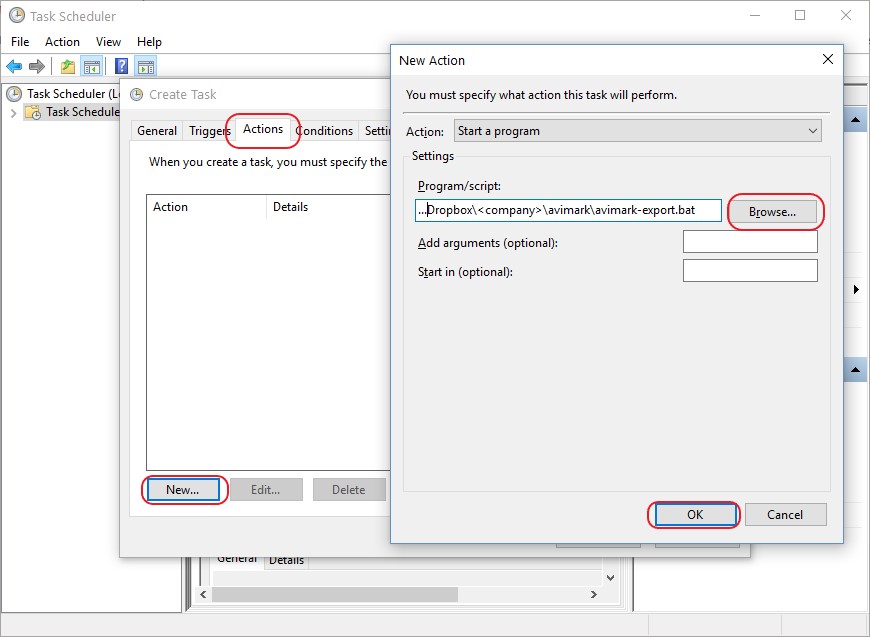
Since the task should get executed without having to be logged in, you need to authorize this by entering your password.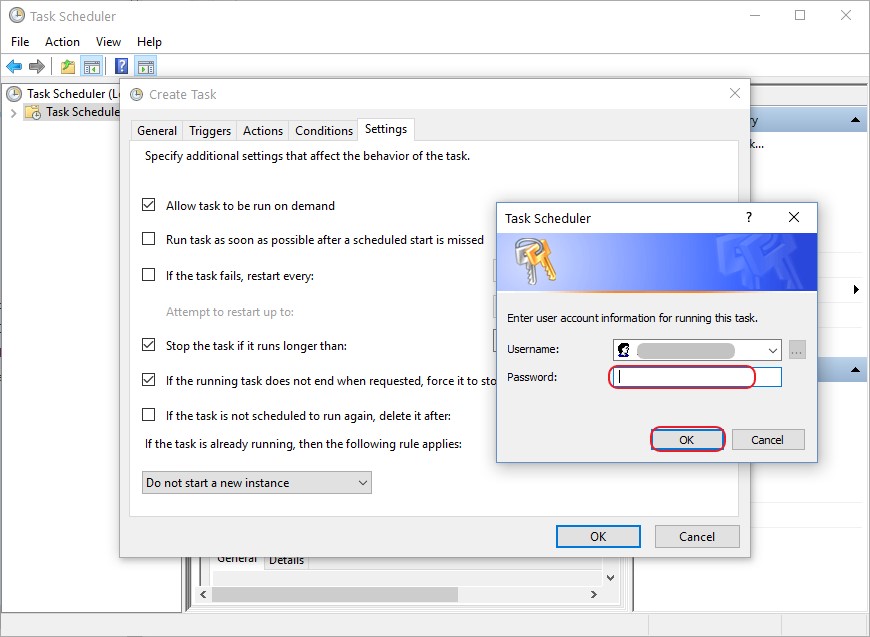
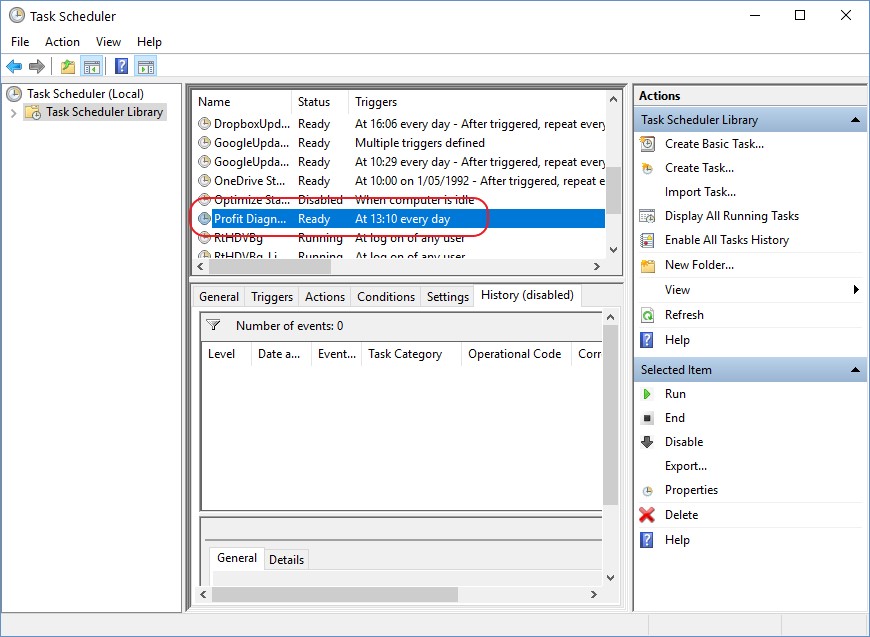
Now you should find a task called “Prodit Diagnostix Avimark Export” with the status “Ready” in the list of tasks.